How to use QODBC with SSIS
Either QODBC or QRemote is required on the machine where the SSIS package will be developed and deployed, or SSIS services are installed.
Development - On the machine, you are developing, the SSIS package should have QODBC installed.
Deployment - On the machine you wish to deploy or run the SSIS Package - You should have QODBC installed.
The first step is to install and test QODBC.
Please refer to Connecting QODBC Driver to QuickBooks for the First Time (Video)
If the QuickBooks application is installed on another machine, you can connect to QuickBooks from a remote device using QRemote Server. You need to install QODBC on both machines.
Please refer to Accessing QuickBooks Data Remotely using QODBC & QRemote. (Video)
When deploying the SSIS package to SQL Server, you need to configure the QRemote client to connect with QuickBooks.
Please follow the below steps to use QODBC with SSIS.
1. Go to the Start menu & open SQL Server Business Intelligence Development Studio from SQL Server.
2. Create a new Integration Service Project by clicking on Integration Service Project & Enter Project Name, setting the project location, and clicking OK.
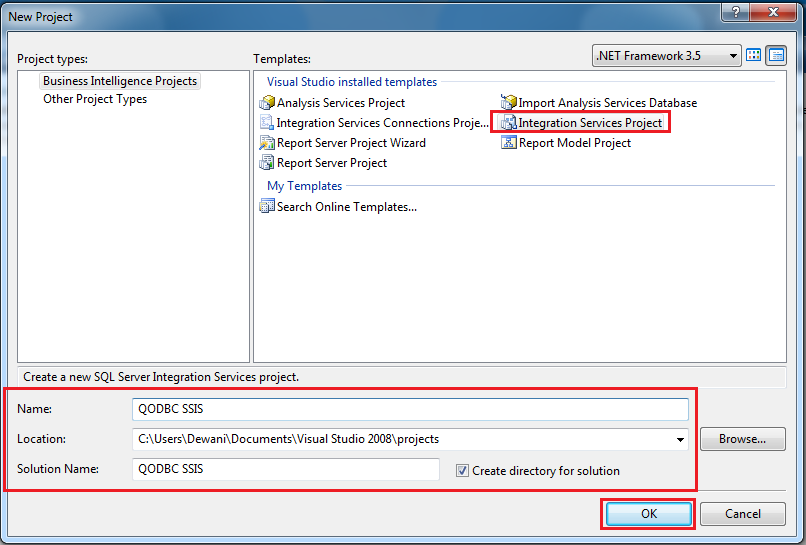
The Project is created.

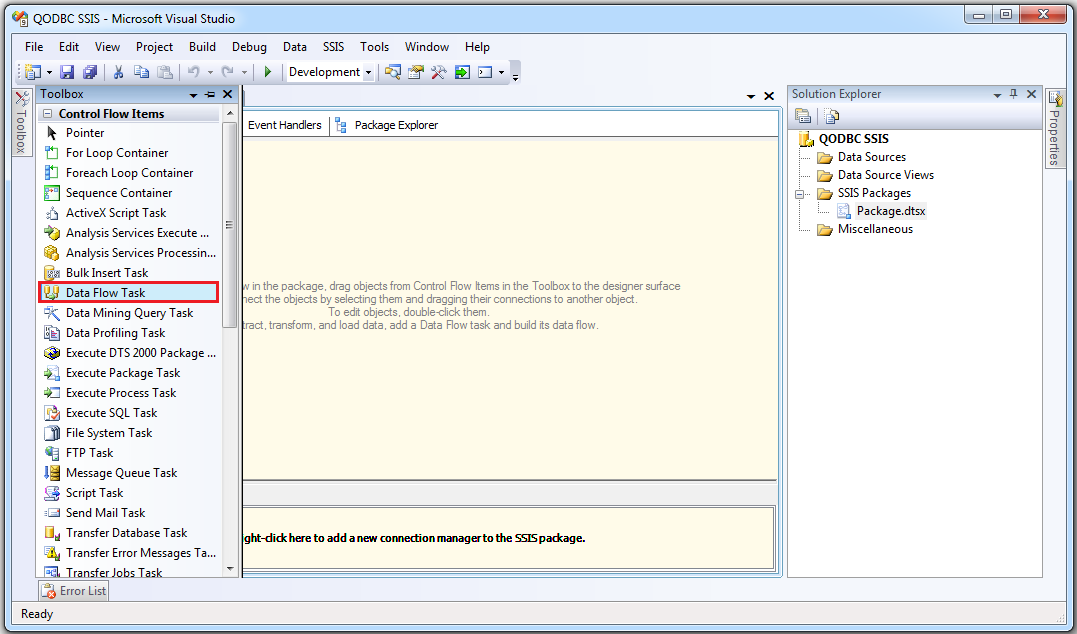
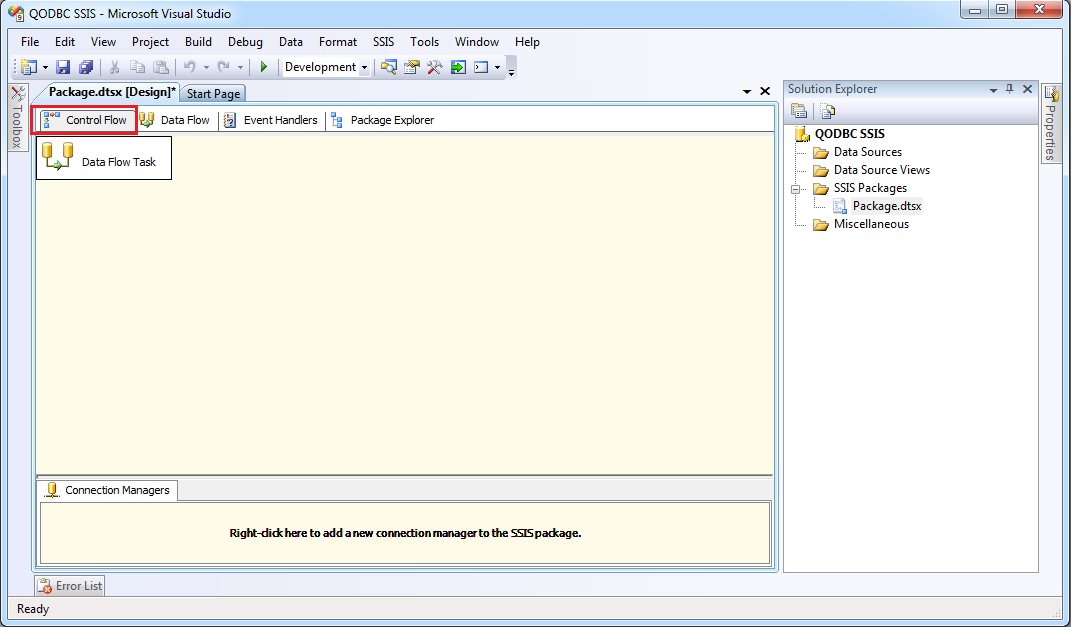
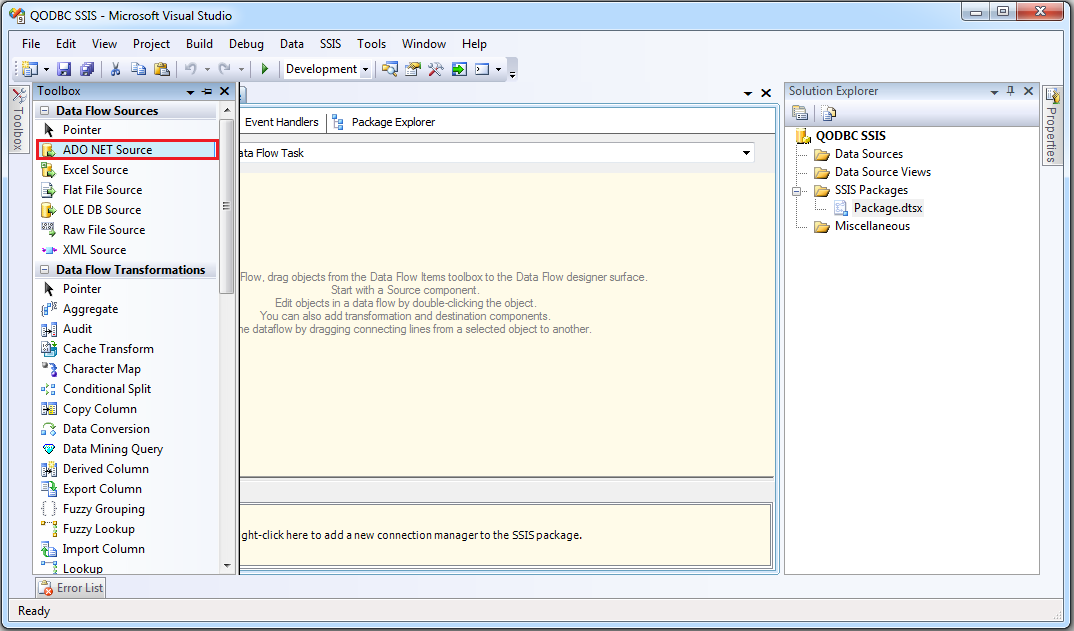
3. In this sample project, we will transfer QuickBooks data using the ADO.Net source to Flat File Destination. Wes, we need to add Data Flow Task in the Control Flo to the perform tab. You can add it by double click on Data Flow Task.
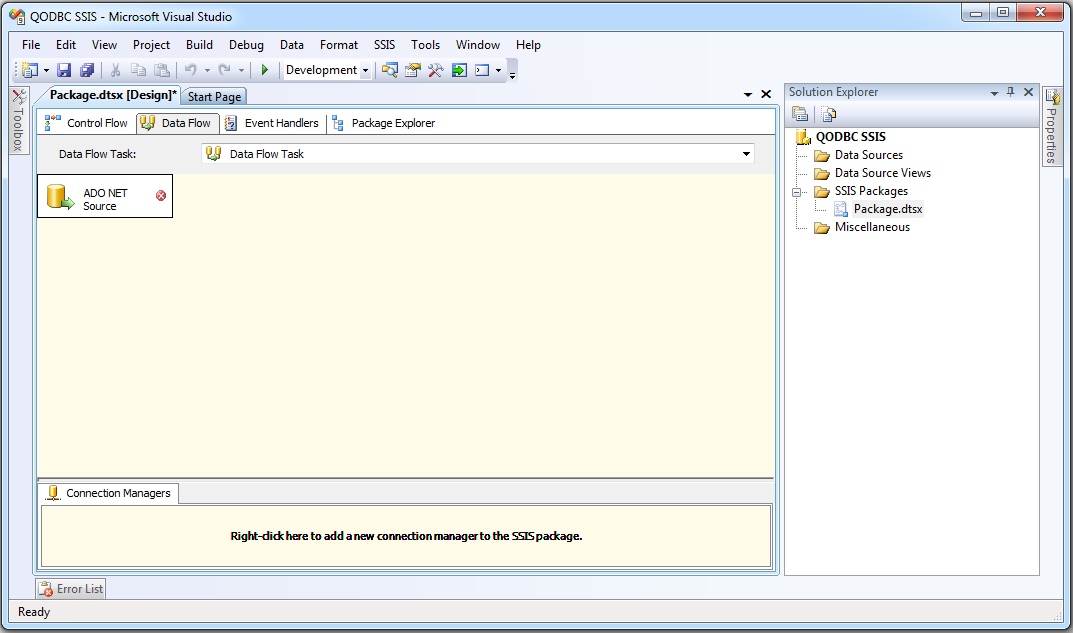
4. We need to add ADO.Net Source in the Data Flow tab. You can add it by double click on ADO.Net Source.
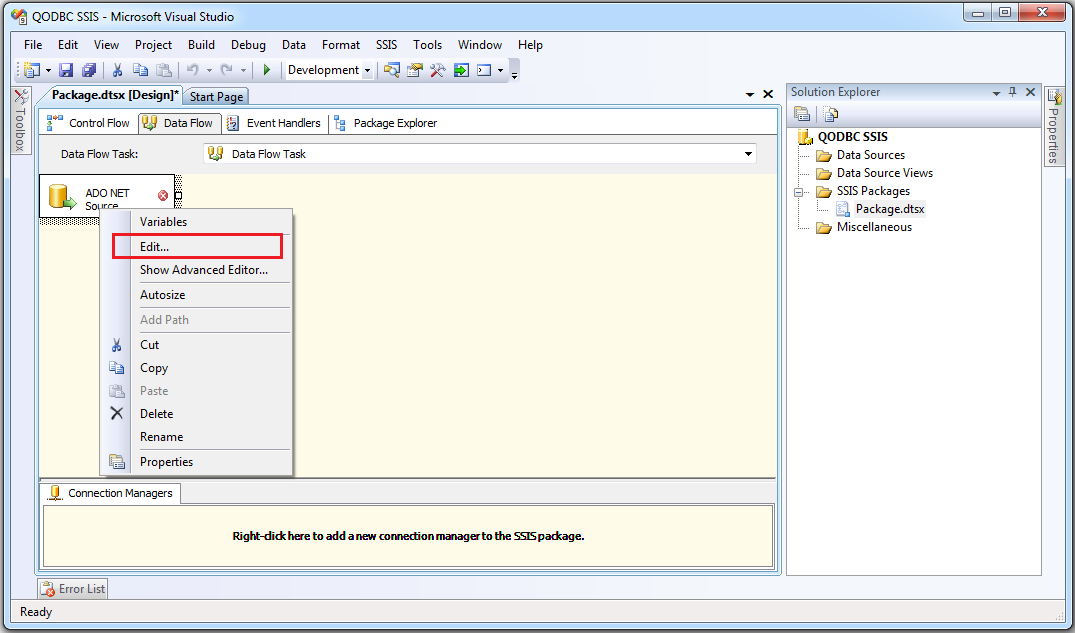
5. Now, we need to configure ADO.Net Source. By right click on ADO.Net Source & click on Edit.
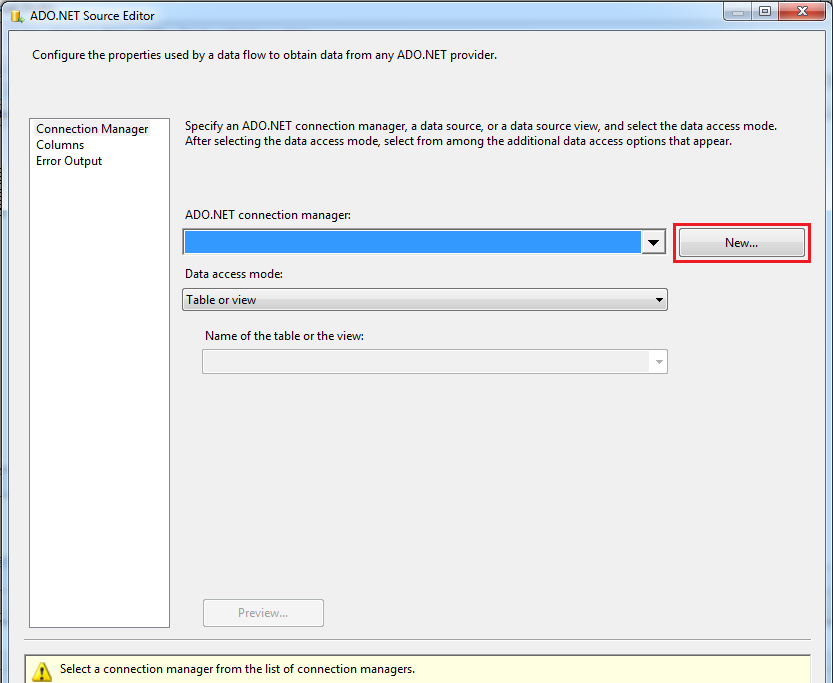
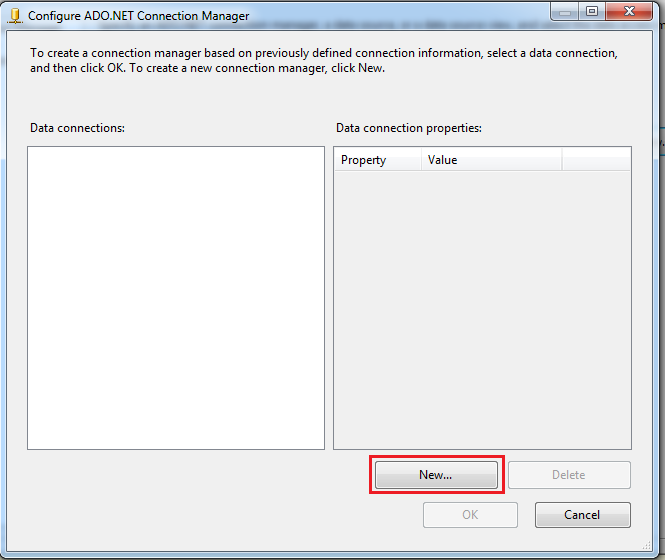
Add a new ADO.Net connection by clicking on New.
Add new Data connection by clicking on New.
Select Provider to .Net Providers\Odbc Data Provider, Select DSN to QuickBooks Data QRemote and click on Test Connection.

Test Connection Succeeded.

You can select Data Access Mode as Table or view the whole table data. You can also select Data Access Mode as an SQL command for accessing table data with condition & accessing report data using sp_report. In this example, I have selected Table or view as Data Access Mode & selected Customer table. Click on OK & you will notice the connection has been added.
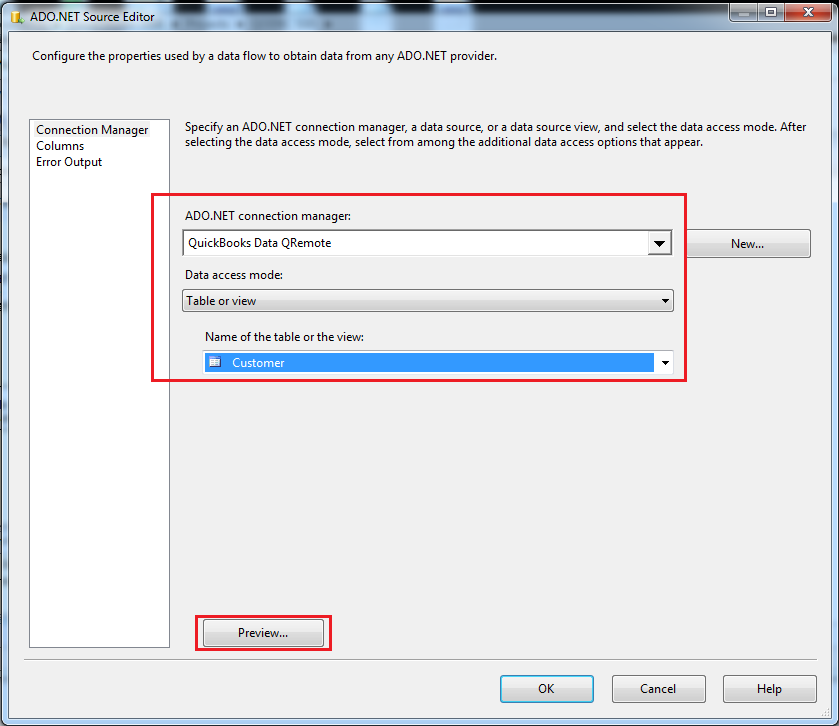
You can preview output data by clicking the Preview button.
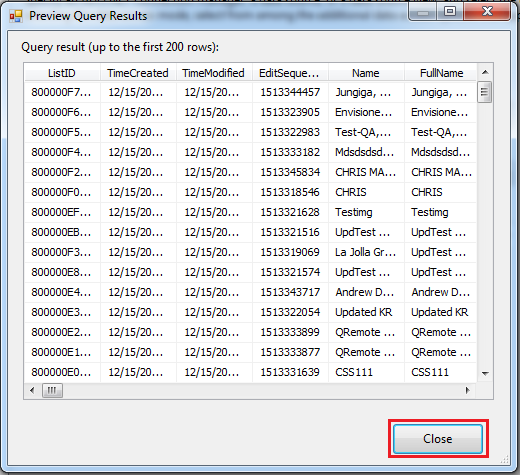
Close the Preview by clicking the close button & click on OK to save configurations.
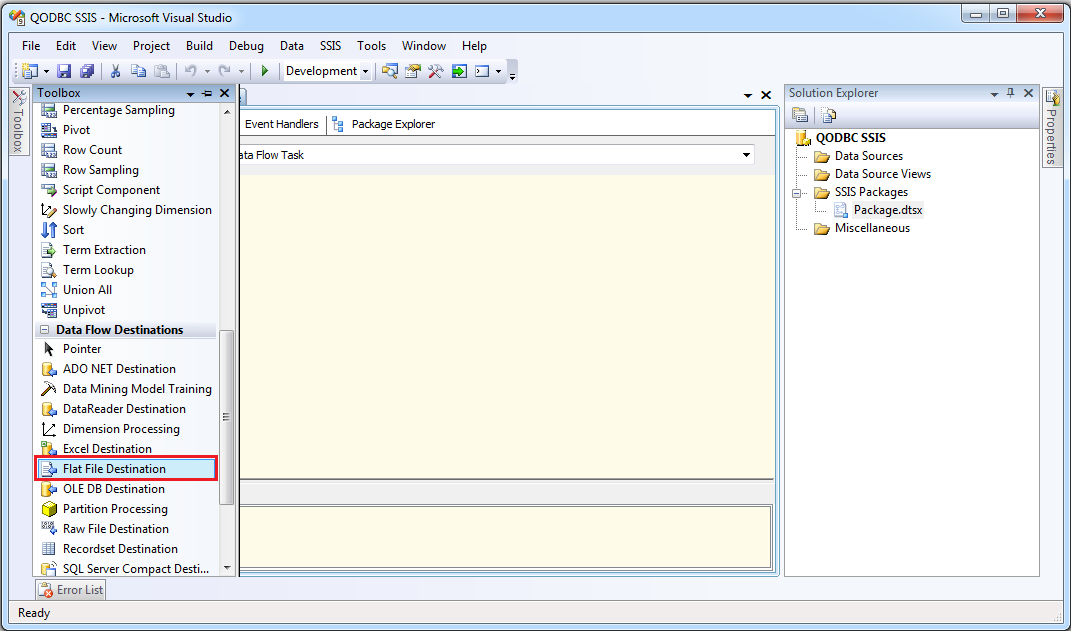
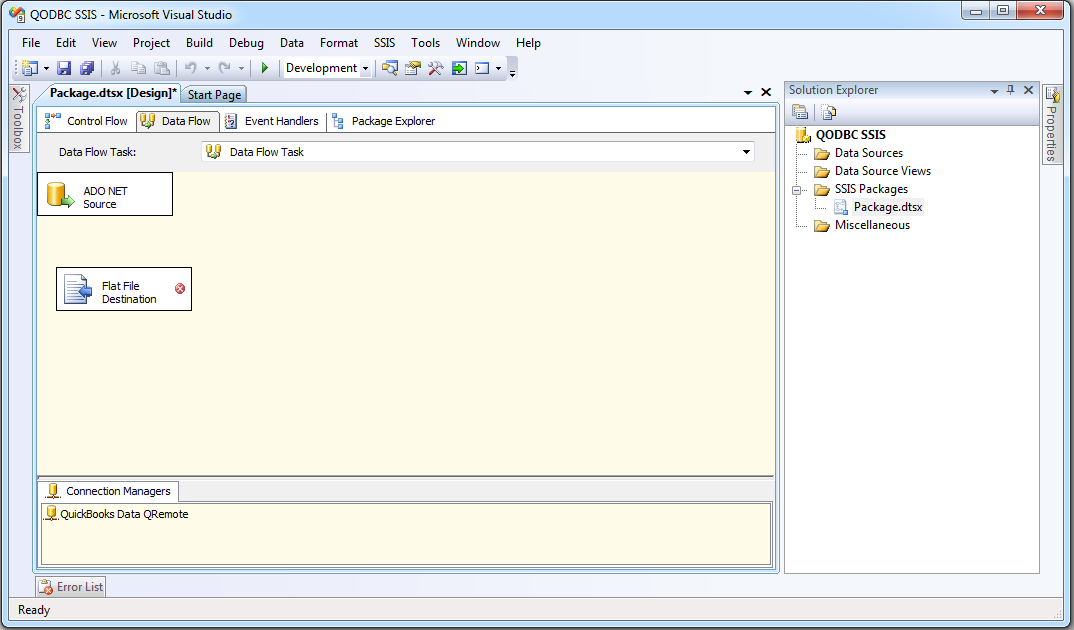
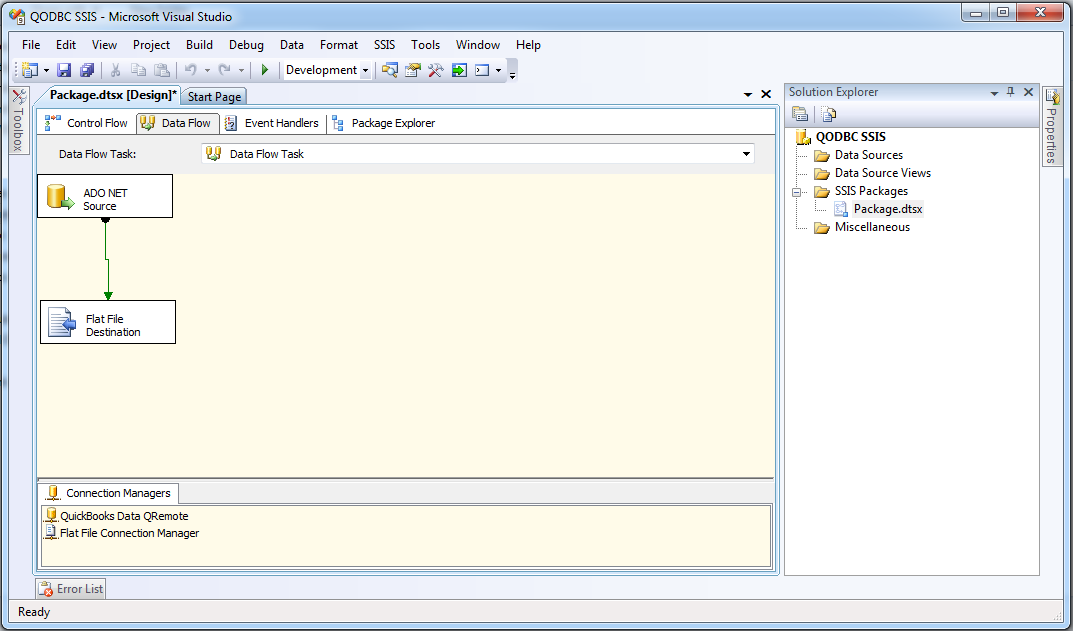
6. We need to add Flat File Destination in the Data Flow tab. You can add it by double click on Flat File Destination.
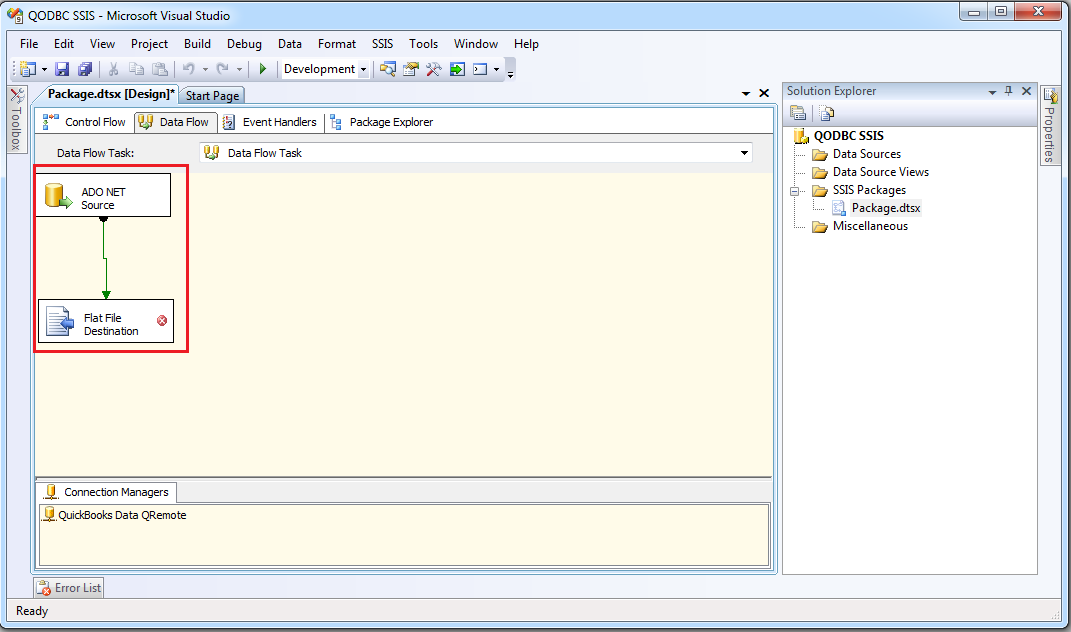
7. Now, we need to link ADO.Net Source with Flat File Destination by dragging the link from ADO.Net Source to Flat File Destination.
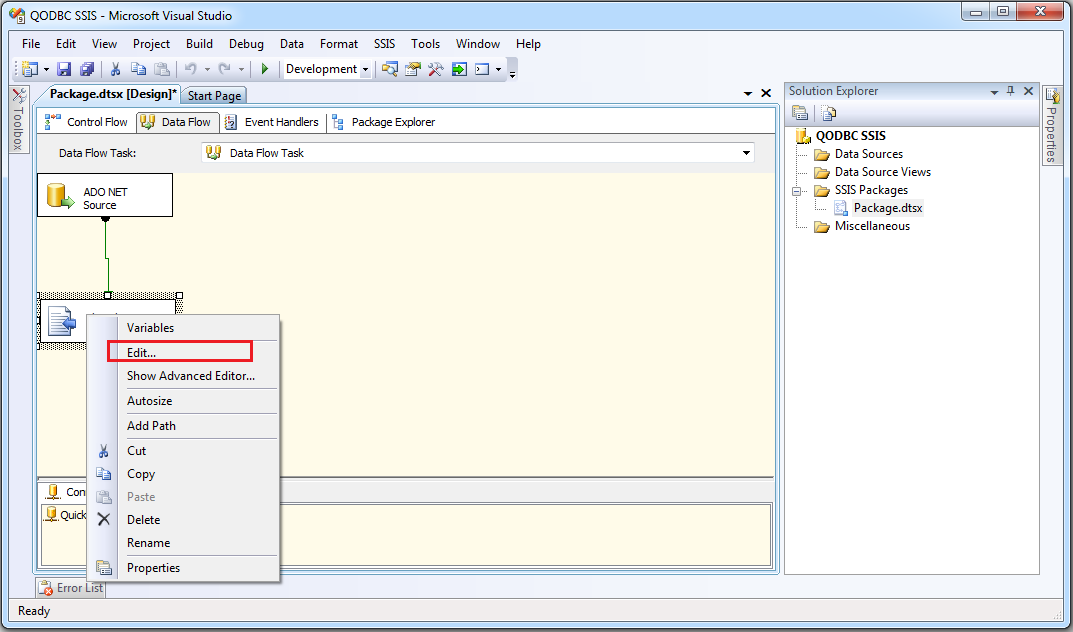
8. Now, we need to configure Flat File Destination. By right click on Flat File Destination & click on Edit.
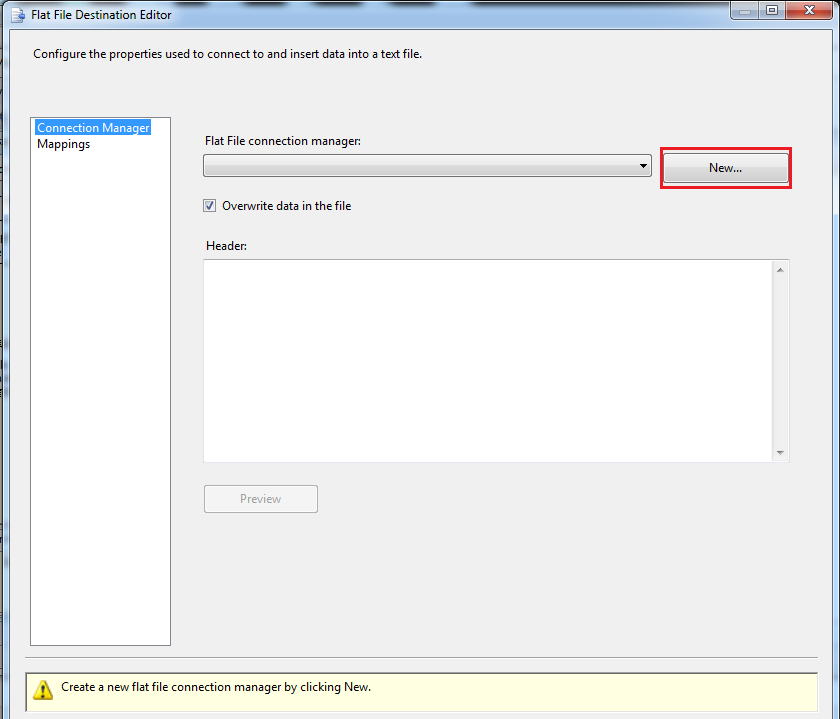
Add a new Flat File connection by clicking on New.
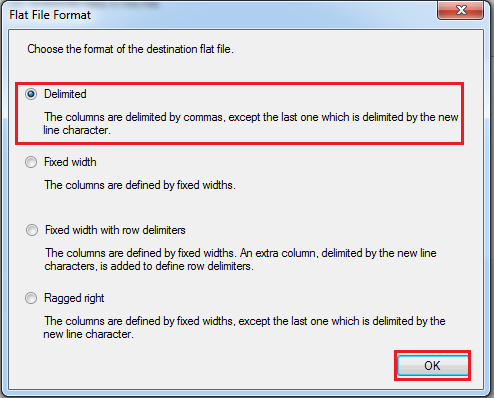
Select Flat File Format & click OK.
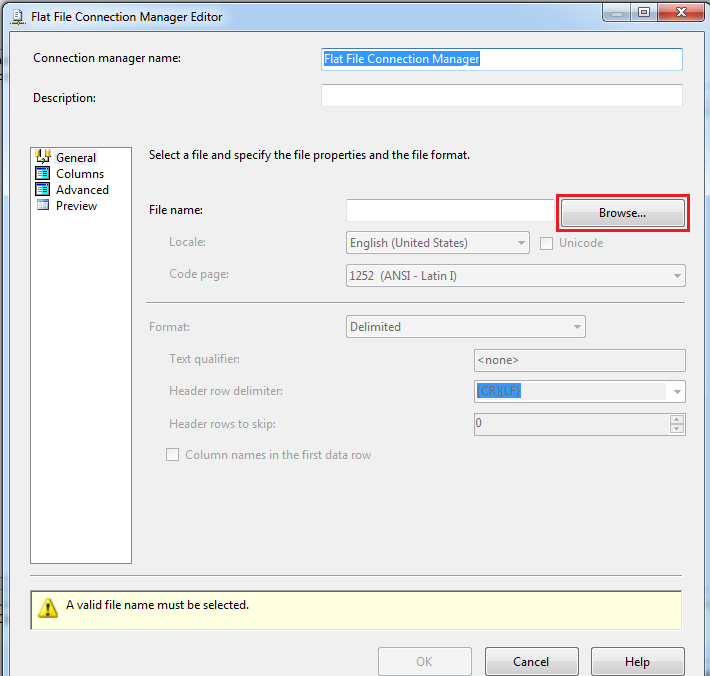
Select the Destination file you want to store output using the Browse button.
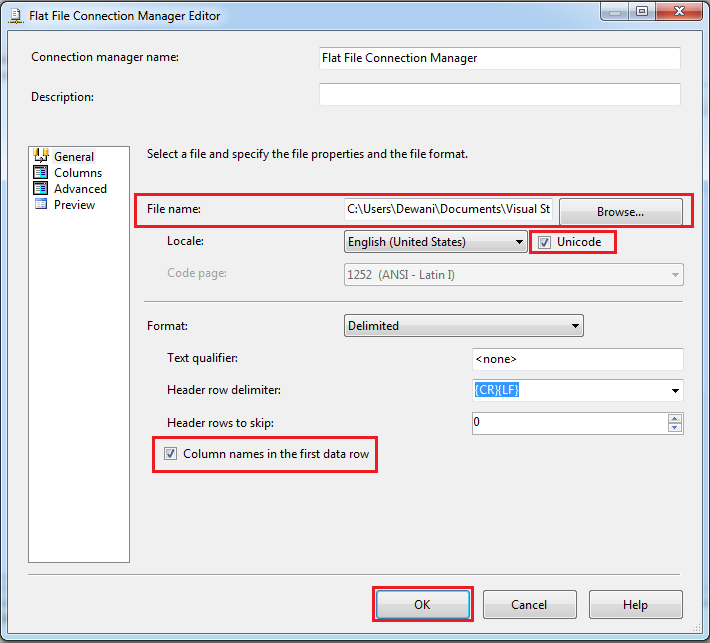
Enable Unicode & Column names in the first data row option & Click on OK to save configurations
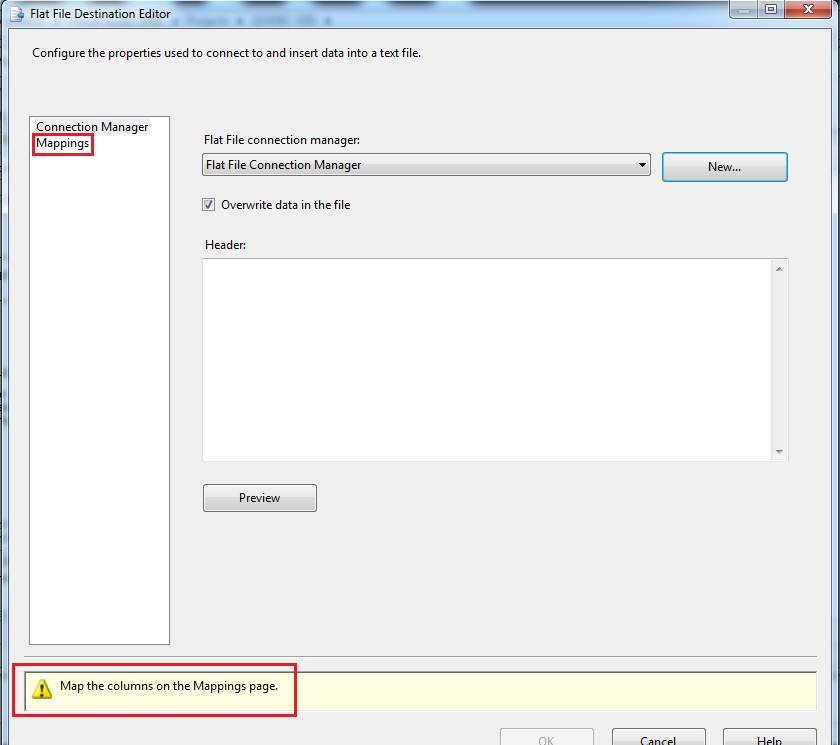
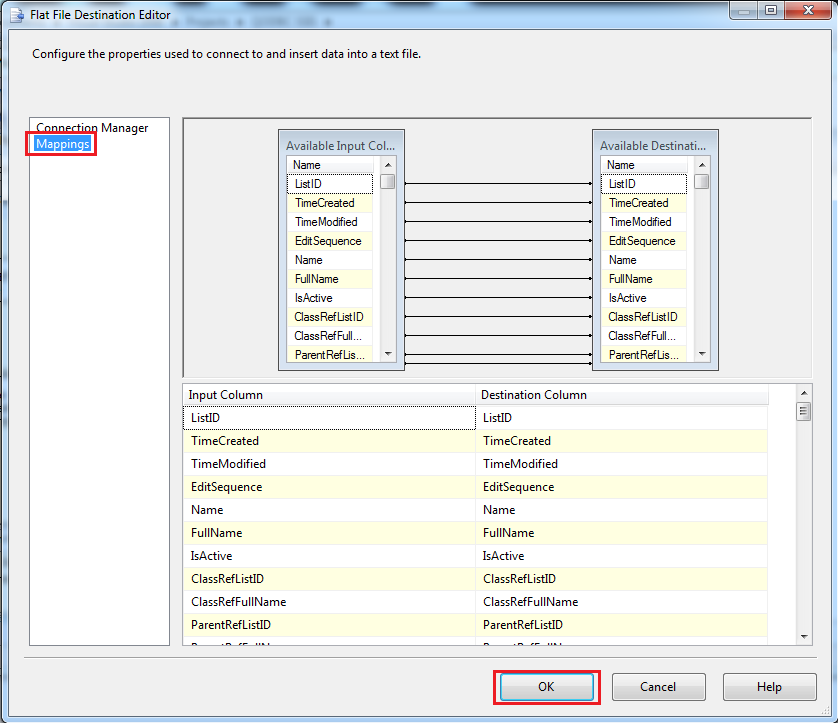
You will notice the OK button is disabled. To enable it, you need to click on Mapping, then click OK to complete the configuration.
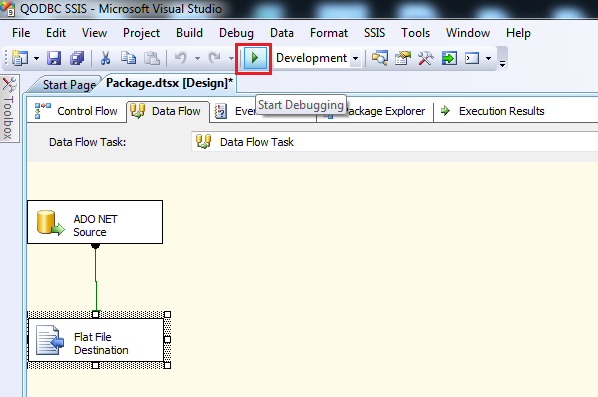
9. Run the SSIS package to perform the transfer operation by clicking the play icon.
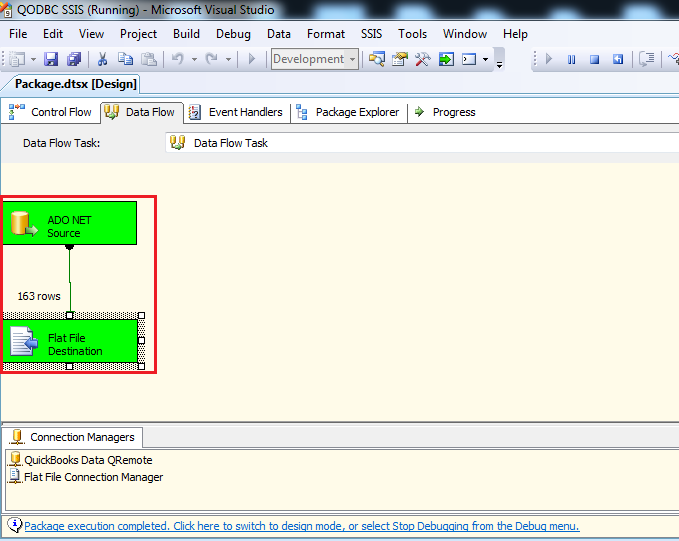
SSIS Package execution completed & 163 rows are transferred from ADO.Net Source to Flat File Destination.
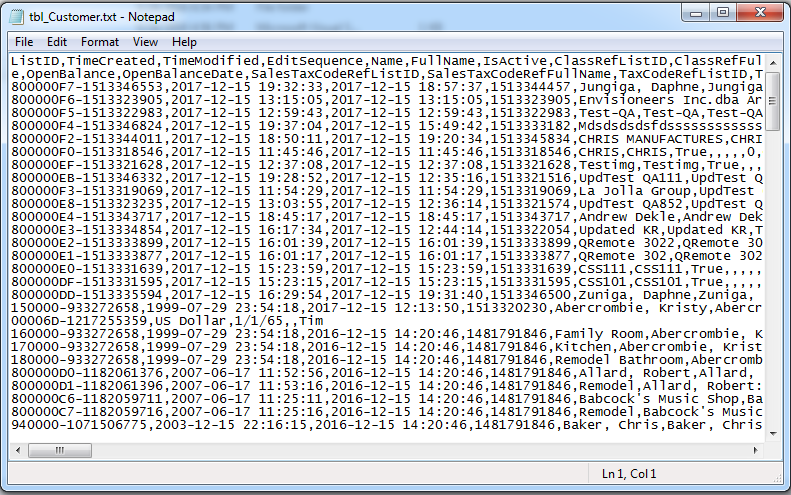
Here is a Flat text file which is containing the ADO.Net Source result.
Please click here to download Sample SSIS Package.
Problem Description:
I am evaluating your driver and have had success running SELECT queries against QB in SSMS, where I could use the QRemote DSN. When setting up the ODBC connection in SSIS, I get an error when enumerating the columns.
Unknown Data type found in column
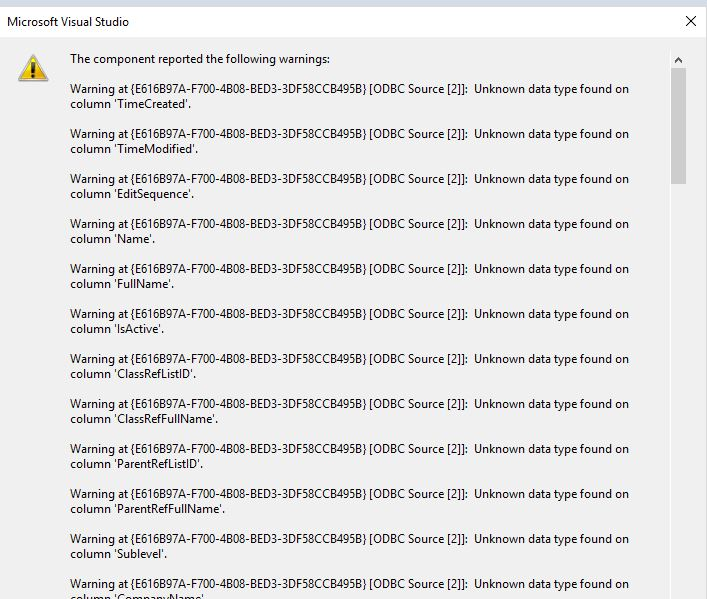
Solution:
To resolve this error, you need to select “ADO.NET Source.” instead of ODBC Source in the SSIS package.
| 


