|
[QODBC-Desktop] Troubleshooting - How to take screenshot
Posted by Jack - QODBC Support on 02 March 2015 12:16 PM
|
|
Troubleshooting - How to take a screenshotProblem Description: How do I take an error screenshot? Solutions: If you've got a problem with a Windows program, you may wonder how to show the errors you're receiving. Luckily, taking a screenshot of your current display is just a quick keystroke away. Follow this guide to take a screenshot of your whole screen, a specific window, or any display section you want.
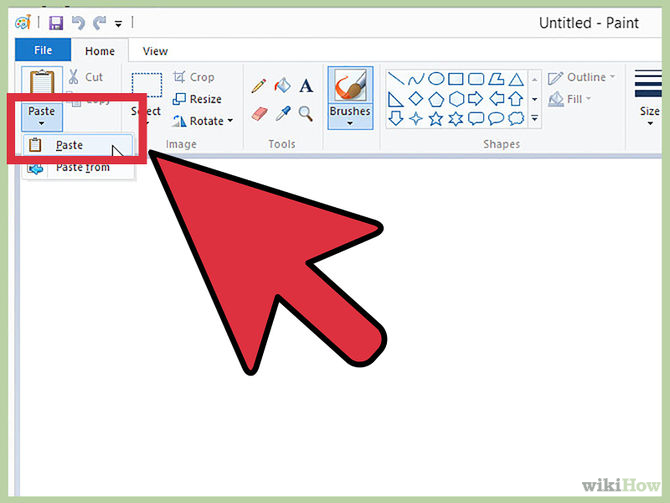
2. Paste the screenshot. Once you've made the screenshot, you must paste it into a program to see it. The most common way to paste it is into a Paint file. This will allow you to save it as an image file that can be transferred to others—open Paint from the Accessories section in your Start menu. With a new blank canvas available, press ^ Ctrl+V to paste the image onto the canvas. You can also open the Edit menu and select Paste or right-click on the canvas and select Paste. Click file, then Save to set the image's name and file type. The most common file types are JPG and PNG. The recommended format for screenshots is PNG due to the high quality and small file size. You can also paste the screenshot into other programs, such as Word, or into the body of an email. Open the program you want to paste the image into and press ^ Ctrl+V.
3. Save the screenshot: Perform any edits you want, such as cropping the image to a specified area, and click the main File option in the top-left corner. Afterward, select Save as, title the new file, choose a save location, and select your desired file format from the drop-down menu. JPG will do fine for most purposes, but various other forms are available, such as PNG, BMP, GIF, and others. Click the gray Save button in the bottom right-hand corner when finished.
| |
|
|