|
[QODBC-Desktop] Using Optimizer Off for selected tables in MS-Access linked table with QRemote
Posted by Jack - QODBC Support on 04 December 2017 07:16 AM
|
|
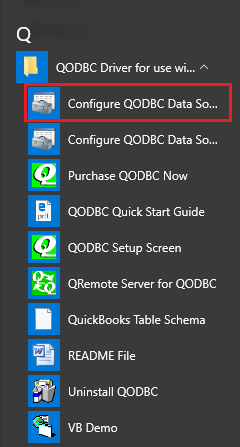
Using Optimizer Off for selected tables in MS-Access linked table with QRemoteProblem Description:I am using QODBC to access QuickBooks Data. I have linked all QuickBooks tables using QRemote DSN. I want to use the Customer table to be Optimizer OFF and the rest of the tables with Optimizer ON. How can I achieve this? Solution:It would be best if you had the Customer table with Optimizer OFF and the rest of the tables to be Optimizer ON. It would be best if you used a separate DSN with Optimizer Off for the Customer table. You need to create a new QODBC DSN through Configure QODBC Data Source. You can open Configure QODBC Data Source from Start >> All Programs >> QODBC Driver for use with QuickBooks >> Configure QODBC Data Source.
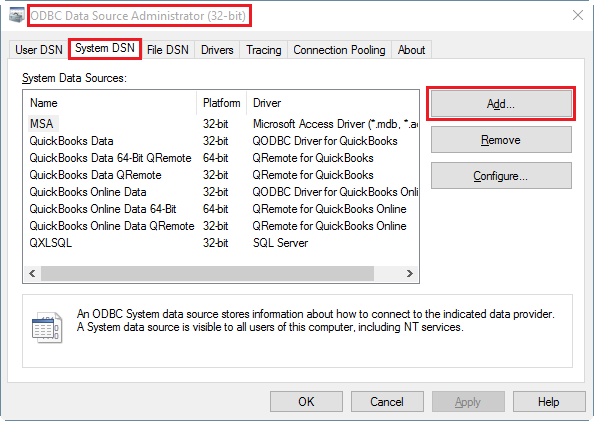
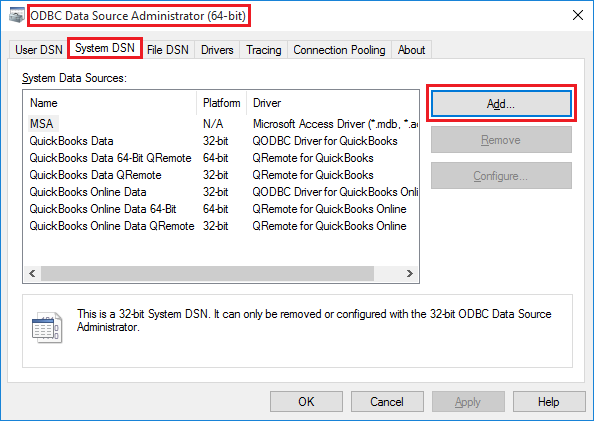
Click on the "System DSN" tab to create a DSN that both Windows applications and services can call. Click on the "Add" button to create a new DSN.
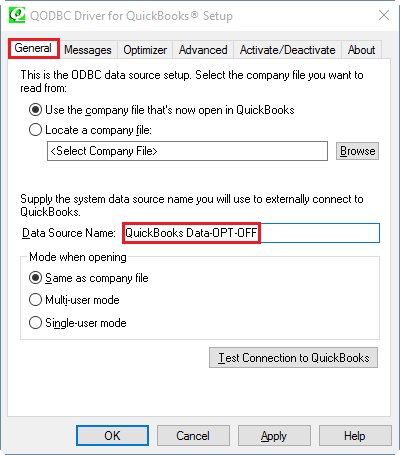
Select the "QODBC Driver for QuickBooks" option and click on the "Finish" button.
Name your new DSN as "QuickBooks Data-OPT-OFF."
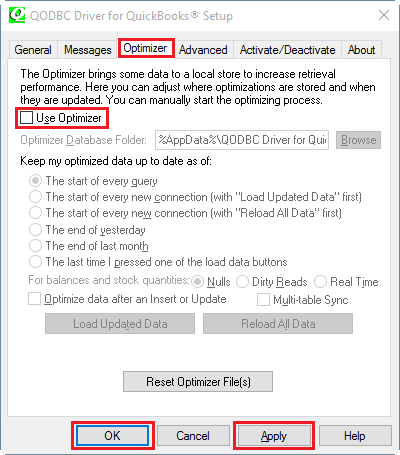
Switch to the "Optimizer" tab/window and uncheck the "Use Optimizer" option & Click "Apply" followed by "OK" to save the DSN configuration.
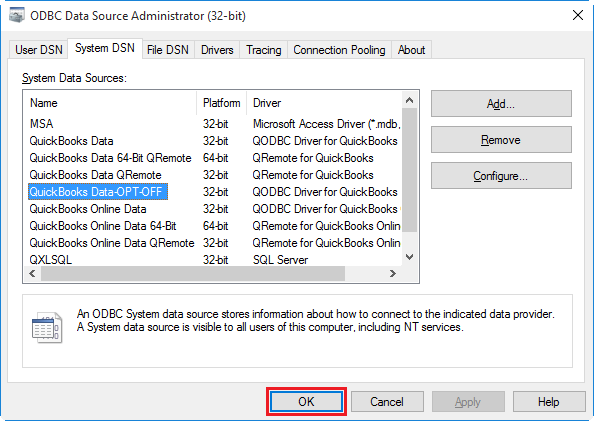
New DSN created. Close the ODBC Manager by clicking "OK."
After this, You need to create a new QRemote DSN through Configure QODBC Data Source 64-bit. You can open Configure QODBC Data Source from Start >> All Programs >> QODBC Driver for use with QuickBooks >> Configure QODBC Data Source 64-bit. Note: If you are using a 32-bit application & using QRemote, then you need to open Configure QODBC Data Source from Start >> All Programs >> QODBC Driver for use with QuickBooks >> Configure QODBC Data Source & create a new QRemote DSN from 32-bit ODBC Manager.
Click on the "System DSN" tab to create a DSN that both Windows applications and services can call. Click on the "Add" button to create a new DSN.
Select the "QRemote for QuickBooks" option and click on the "Finish" button.
Name your new DSN as "QRemote-OPT-OFF."
· Server: IP Address displayed on QRemote Server · Port: Port displayed on QRemote Server · Encryption Key/Password: (By Default, Encryption Key/Password is set to "QODBC#QRemote$1". In case you want to change your Encryption Key/Password, You can configure your encryption key on QRemoteServer and use the same on QRemote Client DSN) · Encryption: (By Default, Encryption is set to Off. In case you want to use encrypted data transfer between QRemote client and QRemoteServer, You can configure encryption on QRemoteServer and use the same on QRemote Client DSN) · Remote DSN: select QuickBooks Data-OPT-OFF DSN from the list. (Make sure QRemote Server is running) Click "OK" to save the DSN configuration. Start QuickBooks login to Company File as Admin. Start QuickBooks login to Company File as Admin. New DSN created. Close the ODBC Manager by clicking "OK."
Switch to your MS-Access application. Right-click on Linked tables and select "Linked Table Manager." I have linked all tables in the MS Access Database using the "QuickBooks Data" DSN with the Optimizer ON option.
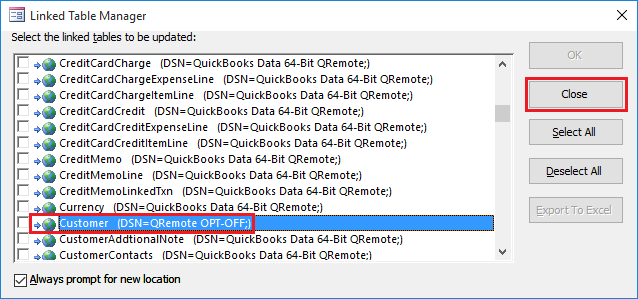
From the list of tables, select Customer table & enable the "Always prompt for a new location" option, and Click "OK."
From the DSN list, select the newly created DSN from "Machine Data Source," Instead of using "QuickBooks Data 64-bit QRemote", Select "QRemote-OPT-OFF."
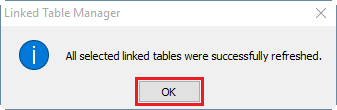
The linked table has been refreshed.
Customer table DSN is changed to "QRemote-OPT-OFF" from "QuickBooks Data 64-bit QRemote". Close "Linked Table Manager" by clicking the "Close" button.
This way, MS Access will create a new Connection to QuickBooks Data-OPT-OFF (Optimizer Off - when accessing the Customer table). For the rest of the tables, MS Access will use QuickBooks Data (Optimizer On). | |
|
|