How to use QODBC Online with QuickBooks Online Edition (Apps.com)
Setup of QODBC Online:
The first step is to download and install QODBC Online. QODBC Online requires .NET Framework 4.6.1 or a later version. So you need to install .NET Framework 4.6.1 to work with QODBC Online.
For system requirement details of QODBC Online, click here.
To purchase QODBC Online - Click here.
Please refer to the steps below to install QODBC Online:
1). Download the QODBC Online installer from the link below:
QODBC Driver for QuickBooks Online Download
2). Install QODBC Online:


Now we have installed QODBC Online.
Configure QODBC Online:
Now we need to authorize & configure QODBC Online to work with QuickBooks Online.
Please follow the steps below to configure QODBC Online:
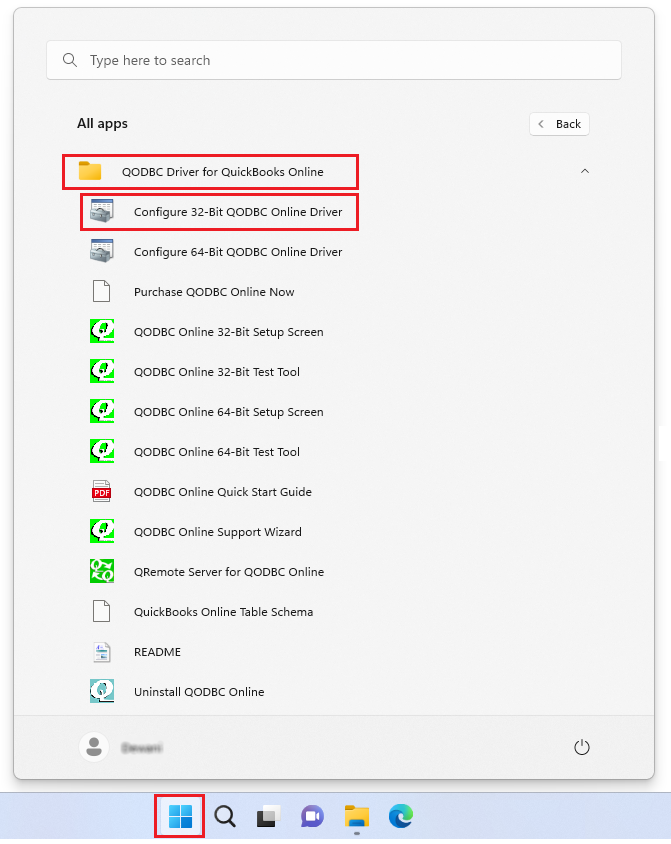
1) Open QODBC Online Setup Screen & click on "Connect to QuickBooks," & refer to steps by step guide:
Start >> All Programs >> QODBC Driver for use with QuickBooks Online >> Configure QODBC Online Data Source.
Go To "System DSN" Tab>> select QuickBooks Online Data>> click "configure"

QODBC Online Setup Screen is opened; please switch to the General tab & click on the "Connect to QuickBooks" button.

2) By clicking "Connect to QuickBooks," open the authorization screen. You need to authorize your company file to work with QODBC Online.

3) You need to enable a popup.

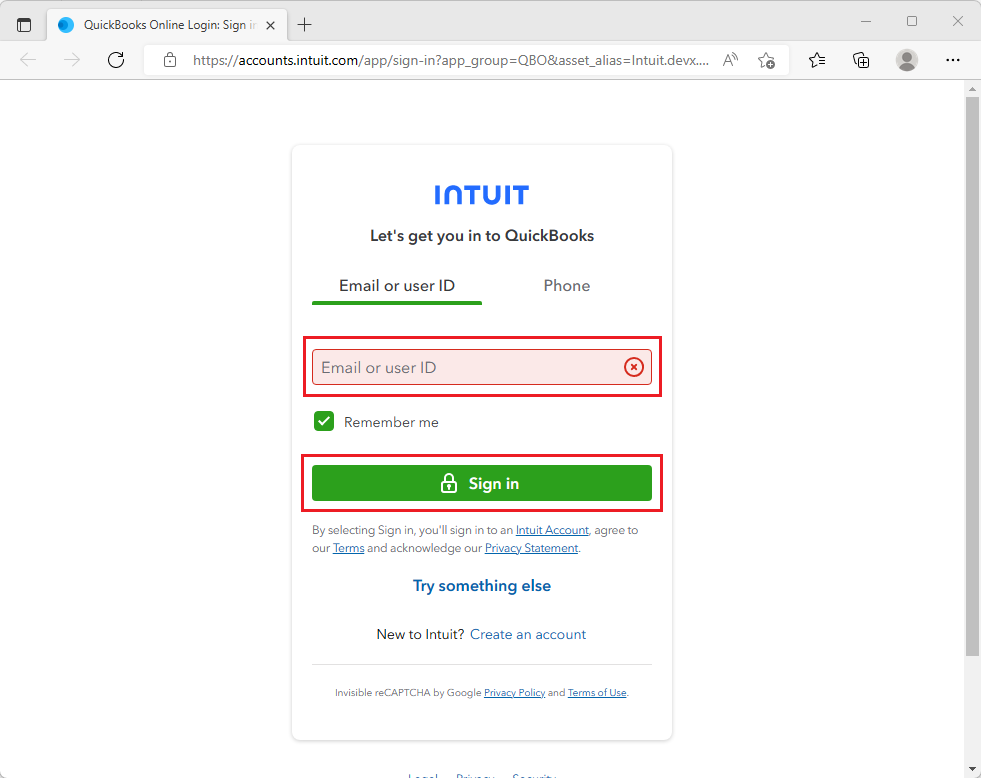
4) Enter your QuickBooks User ID & Password, then click "Sign In."
5) Select the company file you want to use with QODBC Online if you have multiple company files.

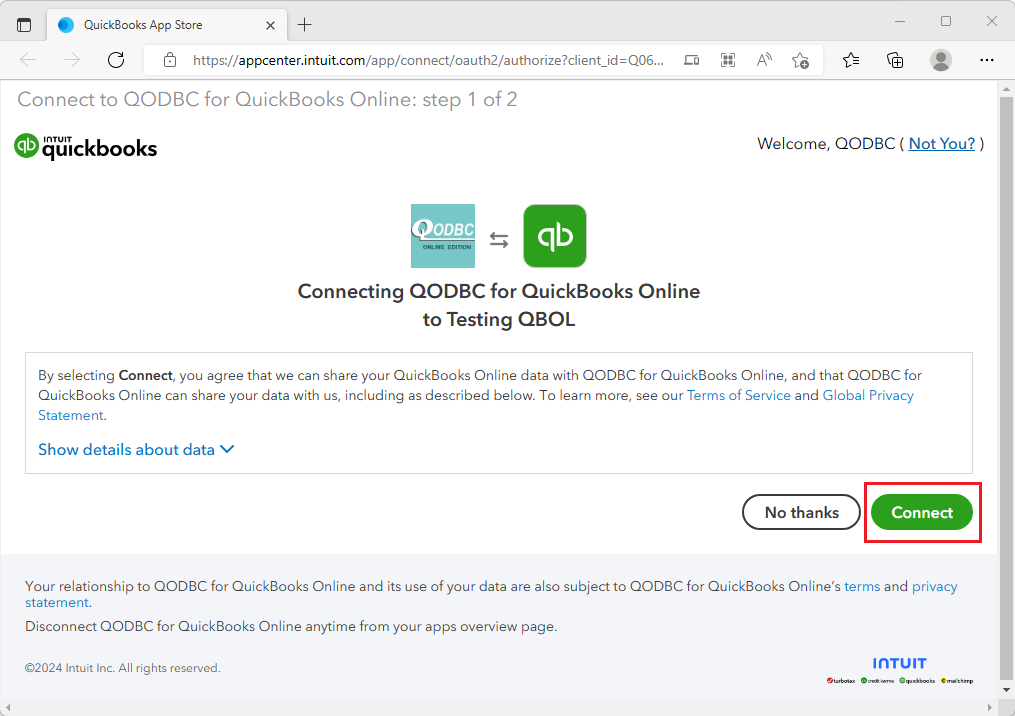
6) Click on "Authorize."

7) After successful authorization, it will return to QODBC Online page as connected status. You can close this window.
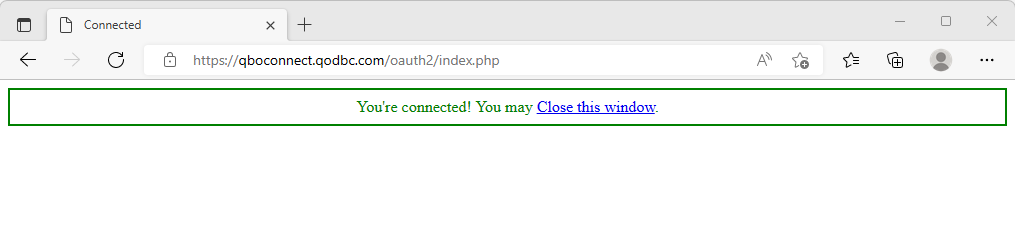
8) QODBC Online is successfully connected to your QuickBooks Online company.


9) We will test the connection using QODBC Online Test Tool. Please open QODBC Online Test Tool from:
Start>>All Programs>> QODBC Driver for use with QuickBooks Online >>QODBC Online Test Tool
10) Please select the "QuickBooks Online Data" DSN from the dropdown list & click on "Connect."
11) We can connect to DSN from QODBC Online Test Tool. Please write your SQL statement & click on "Run."
12) We can fetch data from QODBC Online Test Tool.
Disconnect QODBC Online from your QuickBooks Online Company:
1) Disconnect from your QuickBooks Online company by clicking the "Disconnect from QuickBooks" button.

2) By clicking on the "Disconnect from QuickBooks," a message appears for Disconnect connection to QuickBooks Online. Please click Yes to Disconnect.

3) QODBC Online is successfully Disconnected from your QuickBooks Online company.


Import / Export connection key:
If you want to connect the same company file from another machine, you can export the connection key from one device & import it to another.
You can share the connection key from:
Start>>All Programs>> QODBC Driver for use with QuickBooks Online>> Configure QODBC Online Data Source>> Go To "System DSN" Tab>> select QuickBooks Online Data>> click "configure">> switch to General tab >> click on "Export Connection key" button & share key.

Enter the name of the connection key & choose the location where you want to save the connection key:


Now the connection key is exported successfully. You can copy this connection key & paste it into another machine to import the key to that machine.
You can import the connection key from the following:
Start>>All Programs>> QODBC Driver for use with QuickBooks Online>> Configure QODBC Online Data Source>> Go To "System DSN" Tab>> select QuickBooks Online Data>> click "configure">> switch to General tab click on "Import Connection key" button & import key.

Open the connection key from the location where you keep the connection key:


Now the connection key is imported successfully. You can connect to QuickBooks Online using this connection key.
For system requirement details of QODBC Online, click here.
Tags: QuickBooks Online, QBO, QODBC Online, Connect
| 


