|
[QODBC-ALL] How to Configure QODBC to Work With 64-bit Microsoft Access
Posted by Wilson (QODBC Support) on 22 March 2012 06:58 AM
|
|
|
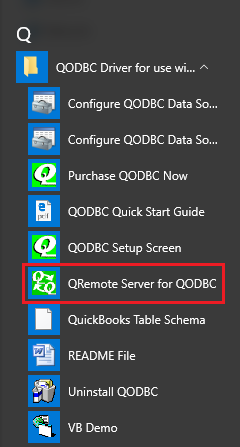
How to Configure QODBC to Work With 64-bit Microsoft AccessInstructions64 and 32-bit words are kept separate in the Microsoft Windows Operating System. . QuickBooks 2021 and older versions are 32-bit applications, so in order to communicate with it, a 32-bit ODBC driver is required. Since a 64-bit application cannot talk to a 32-bit driver, we have to do a bit of magic to get the worlds to connect; we call it QRemote. QRemote works as a bridge between 64-bit Applications and the 32-bit QODBC Driver by communicating data calls between the two worlds using TCP/IP protocol. QRemote makes it possible for 64-bit Web Servers and 64-bit applications to talk to QuickBooks live for the first time via the QODBC Driver. QRemote has two components "QRemote Client Driver for QODBC" and "QRemote Server for QODBC." QRemote Client Driver: Allows 64-bit Applications to connect to QRemote Server and sends the Request to QRemote Server for Processing. QRemote Server: Processes requested instruction from QRemote Client to QuickBooks using QODBC DSN Driver. Setting Up a New QRemote Connection.Start "QRemote Server for QODBC" from the start menu.
Double-click the QRemote Server icon from the system tray.
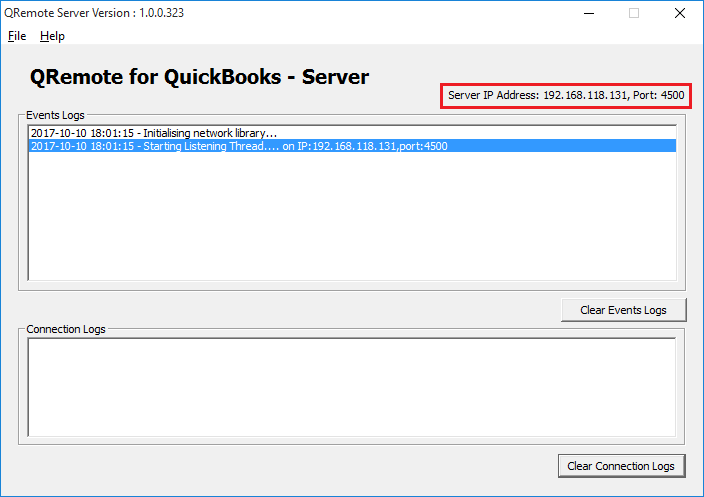
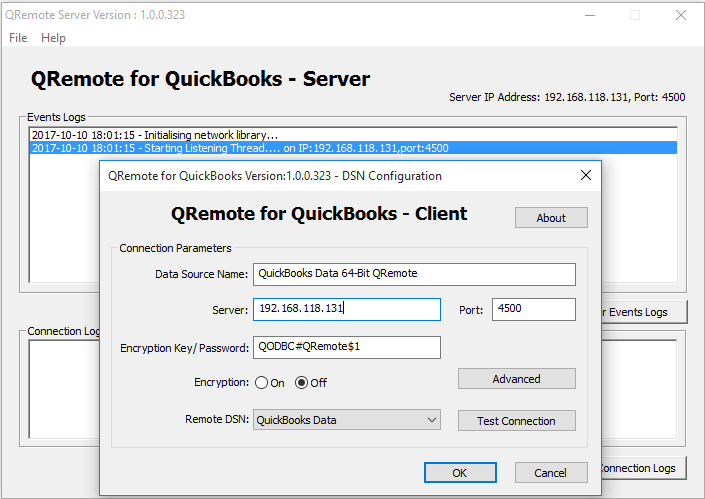
QRemote Server Main screen shows the IP address and Port allowing the QRemote Client to connect.
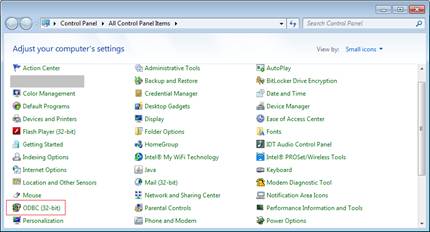
Note the IP address and Port number listed on the QRemote Server "Event Logs window." Create a new DSN entry o Before creating A DSN entry, verify you have made a DSN entry for QODBC, which can connect to QuickBooks. The ODBC Manager 32-bit can be found under Control Panel > ODBC ( 32-bit )
o To create a new QRemote DSN entry, navigate to ODBC Manager 64-bit. Located under Control Panel > Administrative Tools > Data Sources (ODBC).
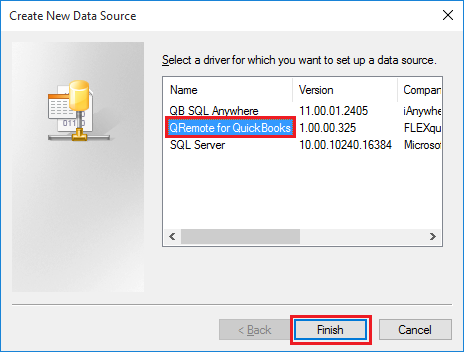
oNavig ate to System DSN. Click on the "Add" Button
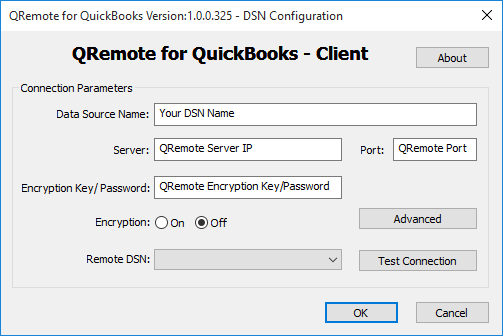
o From the driver list, select "QRemote for QuickBooks" and click "Finish."
Under the QRemote for QuickBooks Client DSN configuration screen, Please fill in the following information · Server: IP Address displayed on QRemote Server · Port: Port displayed on QRemote Server · Encryption Key/Password: (By Default, Encryption Key/Password is set to "QODBC#QRemote$1". In case you want to change your Encryption Key/Password, You can configure your encryption key on QRemoteServer and use the same on QRemote Client DSN) · Encryption: (By Default, Encryption is set to Off. In case you want to use encrypted data transfer between QRemote client and QRemoteServer, You can configure encryption on QRemoteServer and use the same on QRemote Client DSN) · Remote DSN: select QuickBooks Data DSN from the list. (Make sure QRemote Server is running)
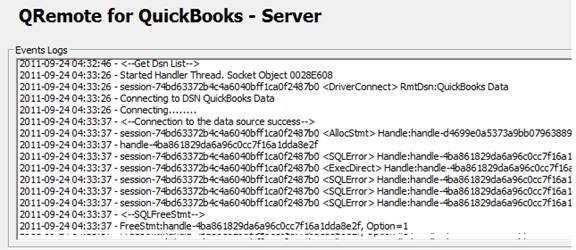
o Verify the QRemote Client connects to the server and that the below-listed logs are logged in the event window.
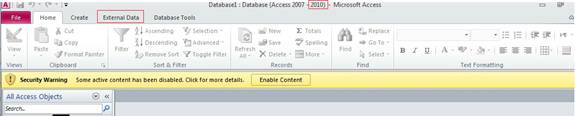
How to connect with 64-bit MS Access.Create or Open MS Access Database
Navigate to the External Data table and select "ODBC Database."
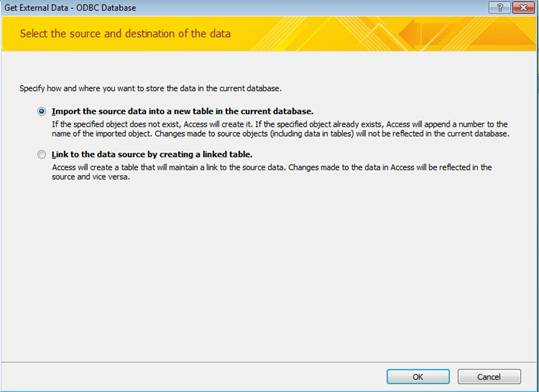
Select the method to import the data
Select the QRemote DSN from the list under "Machine Data Source."
NOTE:
QODBC Desktop for QuickBooks Desktop To use QRemote with Microsoft Access 64-Bit, use "QuickBooks Data 64-Bit QRemote". To use QRemote with Microsoft Access 32-Bit, use "QuickBooks Data QRemote".
QODBC Online for QuickBooks Online To use QRemote with Microsoft Access 64-Bit, use "QuickBooks Online 64-Bit". To use QRemote with Microsoft Access 32-Bit, use "QuickBooks Online QRemote".
QODBC Desktop for QuickBooks POS (Point of Sale) To use QRemote with Microsoft Access 64-Bit, use "QuickBooks POS 64-Bit QRemote". To use QRemote with Microsoft Access 32-Bit, use "QuickBooks POS QRemote".
You can notice the connection information getting logged under QRemote Server.
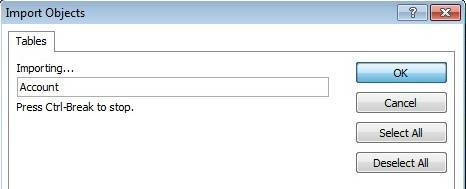
Select the table(s) you want to import to MS Access and click "OK."
MS Access is importing the table(s) information via QRemote.
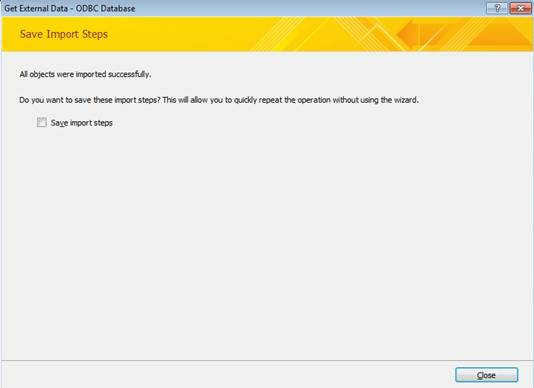
After all the import process is completed, a notification window appears in MS Access.
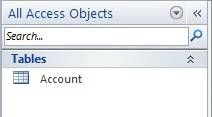
A list of the table(s) imported will show under "All Access Objects."
QuickBooks Desktop: You should be able to read and write data to your QuickBooks Desktop application.
QuickBooks Online: You should be able to read and write data to your QuickBooks Online application.
QuickBooks POS: You should be able to read and write data to your QuickBooks POS application.
Also, refer to the following articles: | |
|
|